A trip to Bryce Canyon National Park and Zion National Park is a fantastic choice for a family vacation in the Southwest. Both parks offer dramatic scenery, well-maintained facilities, and a range of activities that work for multiple ages and ability levels. Located just a couple of hours apart in southern Utah, they’re easy to combine into one itinerary.
With a little planning around lodging, shuttle systems, and trail selection, these two iconic parks can deliver a memorable and manageable adventure for families traveling together.


Bryce and Zion Itinerary Ideas
2-3 Days in Zion National Park
We spent 3 nights at Zion, with two full days of exploration within the park. 2-3 days is the perfect length of time. While 1 day in the park is ok, you really don’t get to see as much with such a short visit, so we would definitely recommend more.
Where to stay near Zion
We chose a 2 bed / 2 bath Airbnb located near the center of town. We were in walking distance of many shops, restaurants and bars and just across the street from the best grocery store.
We chose to stay in Springdale, near the south entrance to the park. It’s a sweet town and it was great to have all the amenities we needed after busy days hiking in the park. Consider hotels such as: Best Western Plus Zion Canyon Inn & Suites or Hotel De Novo Springdale, Tapestry Collection by Hilton.
Where to eat in Springdale
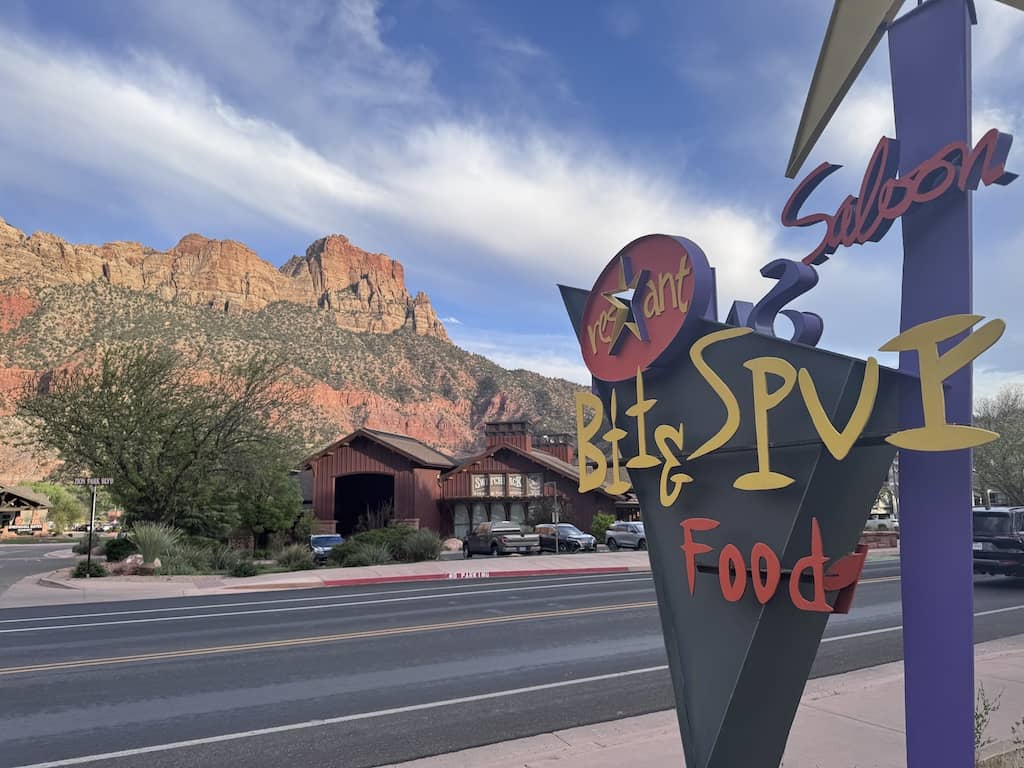
Our top 3 favorite restaurants were Porter’s (great views), Oscars and Bit N Spur (family-favorites).
We also enjoyed the Cowboys and Angels Speakeasy – such a unique place offering craft cocktails along with cozy indoor or outdoor seating.




Arrival and Transport around Zion
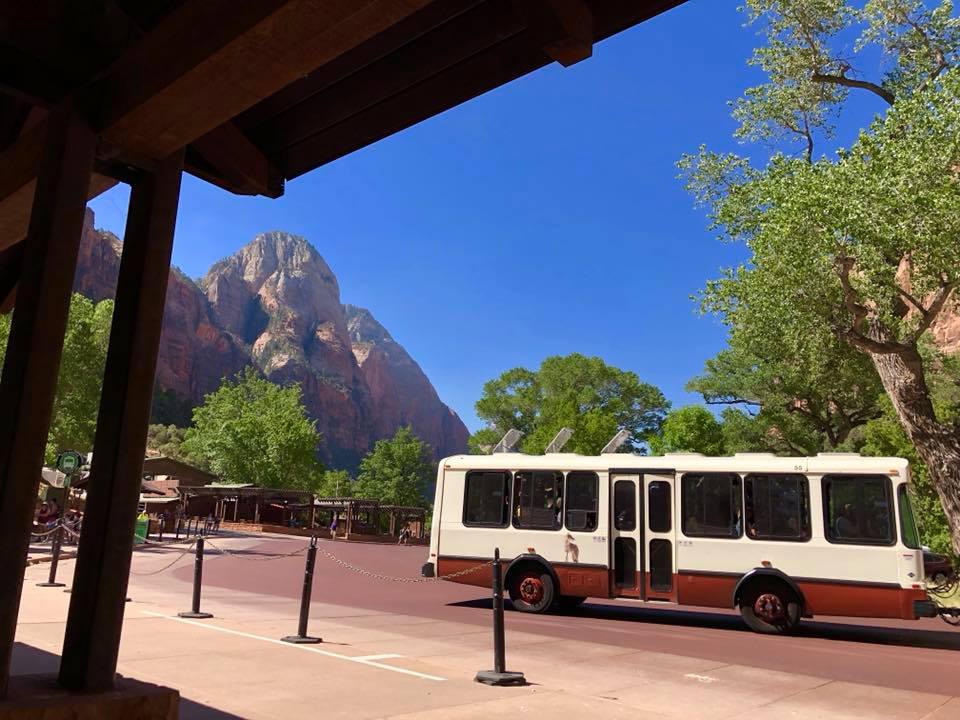
There are two shuttle services for Zion – the orange line and the green line.
The orange line runs from Springdale into the park. There are multiple stops in the city for easy access.
The green line runs from the visitors center to 9 different stops in the park. This is especially important during peak season when parking is not available.
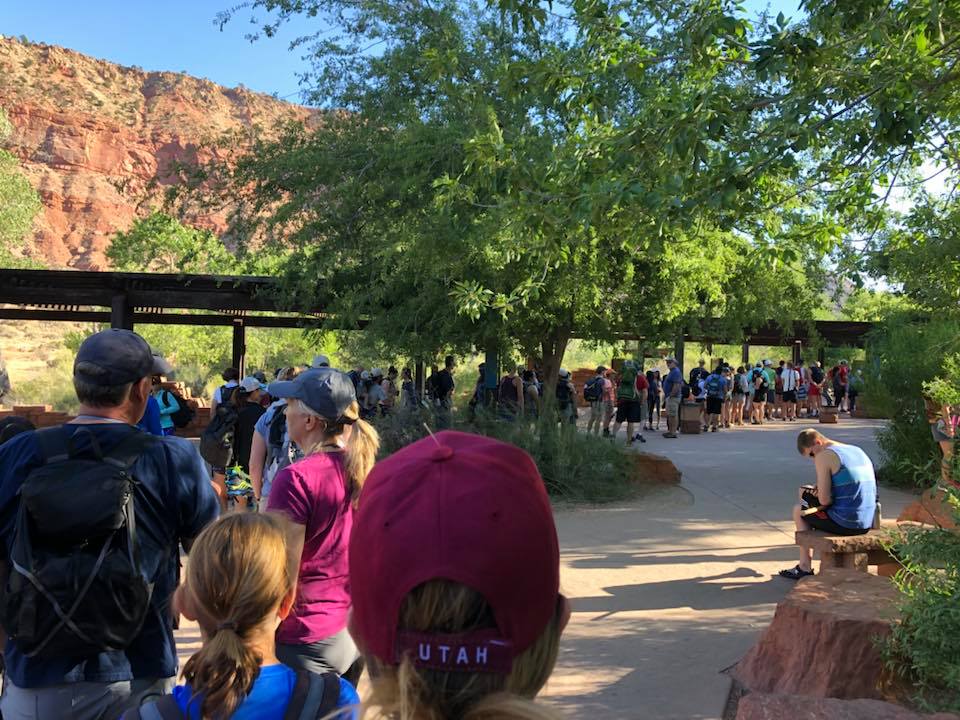
We visited in late March and were able to drive into the park each day. However, by midday parking is extremely limited and the line at the gate is very long. After arriving in the park we chose to access the park via the green line shuttle.
My advice when using the green line shuttle – ride the shuttle all the way to stop number 9 (the very end), which takes you to the Riverwalk and the Narrows. This is an easy walk to get started. After you are done, you can take the shuttle back down stopping along the way.
Stop 5 is the lodge. Here you will find a restaurant, a cafe, restrooms and plenty of seating to relax. This is a great area for kids to run and play as there is a vast grassy lawn in front of the lodge. Stop 5 is also where you access the Emerald Pools (upper, middle and lower).
Stop 3 is the only way to access Canyon Junction Bridge which is a great sunset location. Note, the shuttle doesn’t stop at number 3 going in but does on the way out so plan accordingly.
The Best Lookouts in Zion
Must-See Overlooks:
- Angels Landing (summit) – One of the park’s most iconic viewpoints with jaw-dropping canyon panoramas. The final section involves narrow ridges and chains, and now requires a permit due to high visitor demand.
- Scout Lookout – Just below Angel’s Landing’s chains section, this flatter vantage point still offers incredible views of the canyon and the Landing itself and doesn’t require the permit.
- Observation Point – Often considered the best panoramic viewpoint in the whole park, towering above Zion Canyon with a wide sweep of landscape — including Angel’s Landing far below.
- Canyon Overlook – A shorter, easy-to-moderate hike (~1 mile round trip) that delivers spectacular views of the canyon, Pine Creek Canyon, and towering sandstone walls — perfect for sunrise or sunset.
Scenic Drives & Accessible Lookouts:
- Zion–Mount Carmel Highway Pull-Offs – Along this scenic road (near Checkerboard Mesa and the Mount Carmel Tunnel) you’ll find many easy roadside viewpoints with striking rock formations and long canyon views without much hiking.
- Kolob Canyons Viewpoints – In the park’s Kolob Canyons district (northwest section), pull-outs and the Timber Creek Overlook Trail offer wonderful panoramas over red-rock gorges and quieter scenery.
- Lava Point Overlook – Slightly off the main canyon area via Kolob Terrace Road, this overlook gives wide-angled views of distant peaks and mesas — great for a peaceful sunset.
- Canyon Junction Bridge / Pa’rus Trail Views – Along the Virgin River and Pa’rus Trail you’ll find excellent photographs of the towering Watchman peak and canyon walls, especially around sunrise or dusk.
Family-friendly Hikes in Zion
- Our favorite hike was the Canyon Overlook Trail which begins just on the other side of the tunnel. The hike took about 1 hour, and parking is extremely limited. The hike is easy to moderate but the views overlooking the canyon are worth it. It is recommended as a sunrise hike but we had great views mid-afternoon.
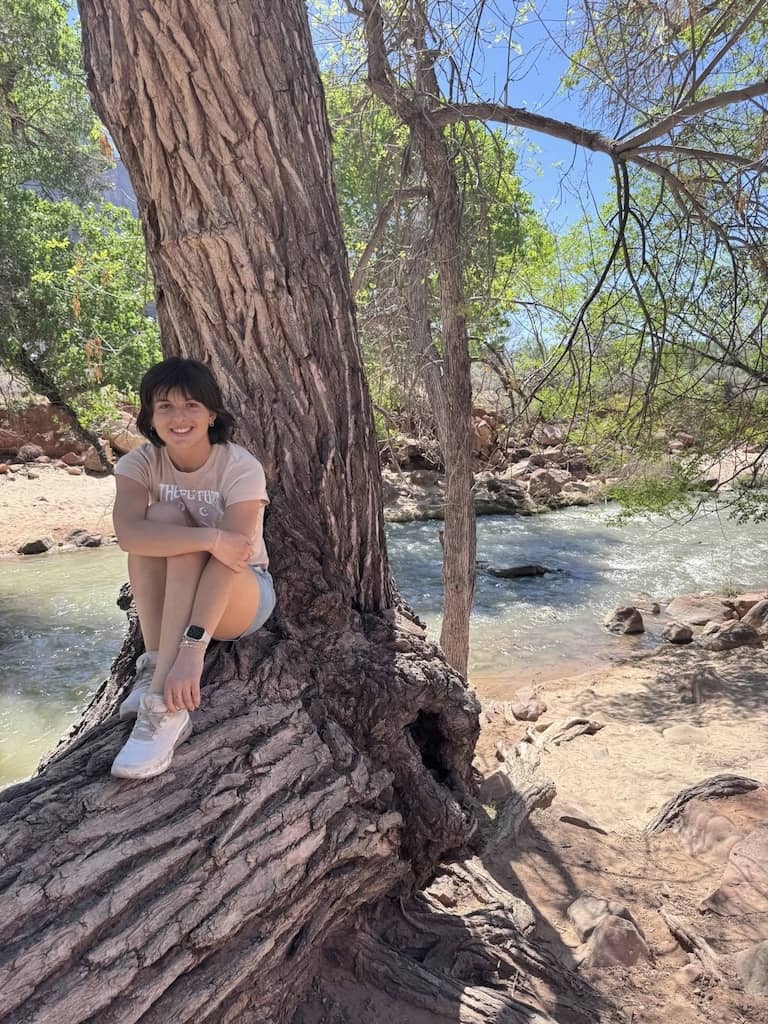
- We enjoyed the Riverside Walk trail – which is easy and accessible.
- The Emerald Pool Trails – The Lower Emerald Pool is an easy paved hike with some elevation. The middle and upper pools are slightly more challenging and include more elevation and uneven ground.

2-day Itinerary for Zion National Park
Day 1: Riverside Walk + the Emerald Pools
For your first day in Zion National Park, plan to use the park’s shuttle system to simplify logistics. Start by riding the Green Line shuttle all the way to Stop #9 – Temple of Sinawava, the final stop on the route. This is where you’ll find the Riverside Walk, an easy, mostly flat paved trail that follows the Virgin River deeper into the canyon. It’s a great warm-up hike for families, with minimal elevation gain and beautiful canyon views. This is also the starting point for The Narrows for those who want to continue farther (equipment required).
After finishing Riverside Walk, hop back on the shuttle heading down canyon and stop at Stop #5 – Zion Lodge. The lodge is a convenient mid-day break with a restaurant, café, restrooms, and shaded seating areas. There’s also a large grassy lawn out front, which makes it an ideal place for kids to stretch their legs or relax before the next hike.
From Zion Lodge, access the Emerald Pools trail system. The Lower Emerald Pool is a relatively short, paved trail with some elevation and is manageable for most families.
If you’re feeling up for more of a challenge, continue to the Middle and Upper Emerald Pools, which involve steeper sections and more uneven terrain. Together, these hikes make for a well-balanced first day—scenic, active, but still achievable for a wide range of ages and ability levels.
We left John (post ankle injury) and my mom down at the lower level while Payton and I ventured to the top – and although it was very steep in parts – Payton is like a mountain goat!


Day 2: Canyon Overlook Trail + Pa’rus Trail
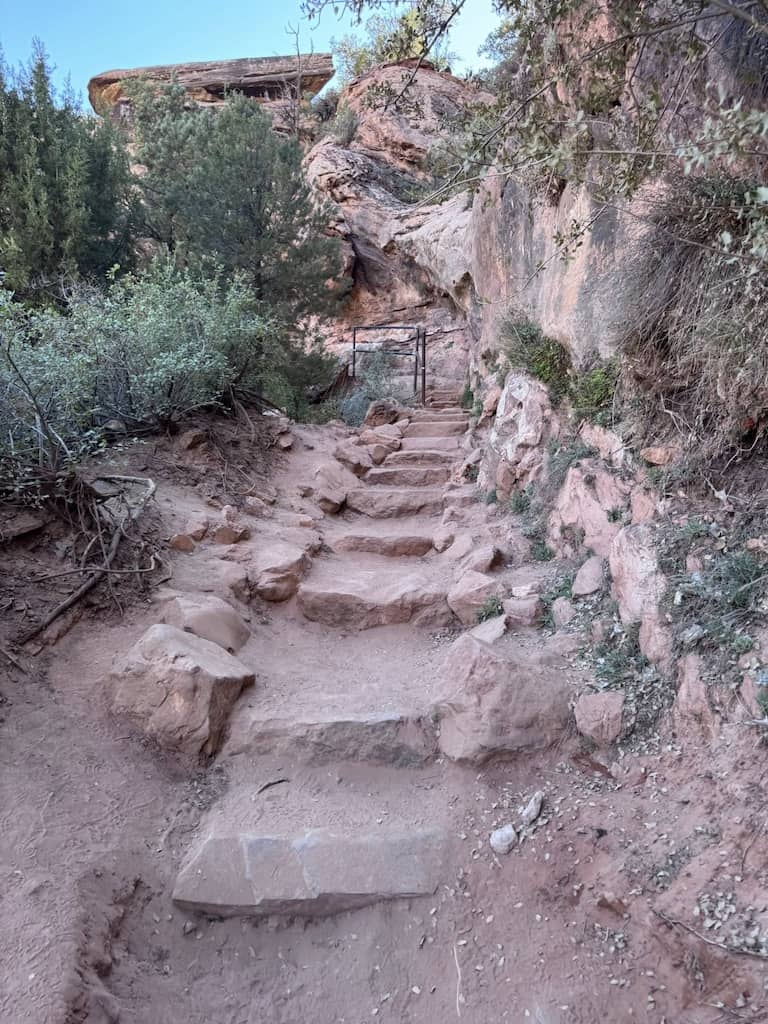
Start your second day early and head toward the east entrance of the park for the Canyon Overlook Trail, located just beyond the Zion–Mount Carmel Tunnel. This roughly one-mile round-trip hike typically takes about an hour and is considered easy to moderate, with some stairs and uneven rock sections along the way.
Parking is extremely limited, so arriving early is important—especially in peak season. The trail includes railings in key areas and ends with sweeping views back over Zion Canyon. Sunrise is recommended for cooler temperatures and softer light, but the overlook delivers impressive views throughout the day.
After your hike, spend time enjoying the Zion–Mount Carmel Highway scenic drive. This stretch of road offers a very different perspective of the park compared to the main canyon shuttle route. You’ll see slickrock landscapes, checkerboard mesas, and wide-open views that are easily enjoyed from roadside pullouts—ideal for families who may not want another long hike. The drive also gives everyone a chance to relax while still taking in dramatic scenery.
If energy levels allow, consider adding a short, easy stop such as the Pa’rus Trail near the visitor center. This paved, relatively flat path follows the Virgin River and is suitable for strollers and bikes, making it a flexible option for multi-generational groups.
Together, Canyon Overlook and a scenic drive balance light adventure with accessible sightseeing, rounding out a well-paced second day in Zion.


If you have 3-days in Zion, explore the Kolob Canyons, take an ATV tour, or relax in Springdale.
Distance from Zion to Bryce Canyon
The drive from Zion National Park to Bryce Canyon National Park is approximately 85 miles and typically takes 1.5 to 2 hours under normal conditions.
The most common route follows UT-9 east through Zion, connects to US-89 north, and then joins UT-12 east to Bryce Canyon. This route is fully paved and accessible year-round, weather permitting.
2 Days in Bryce Canyon National Park
Bryce Canyon may be compact compared to other national parks, but two days gives you enough time to experience its scenic viewpoints, and hiking down into the iconic hoodoos, which really is worth doing if you are able.
We recommend doing the viewpoints on one of the days, and then sunrise point + a hike in the hoodoos on your second day. If you have additional time, consider a bike tour or horseback ride.


Where to Stay near Bryce Canyon
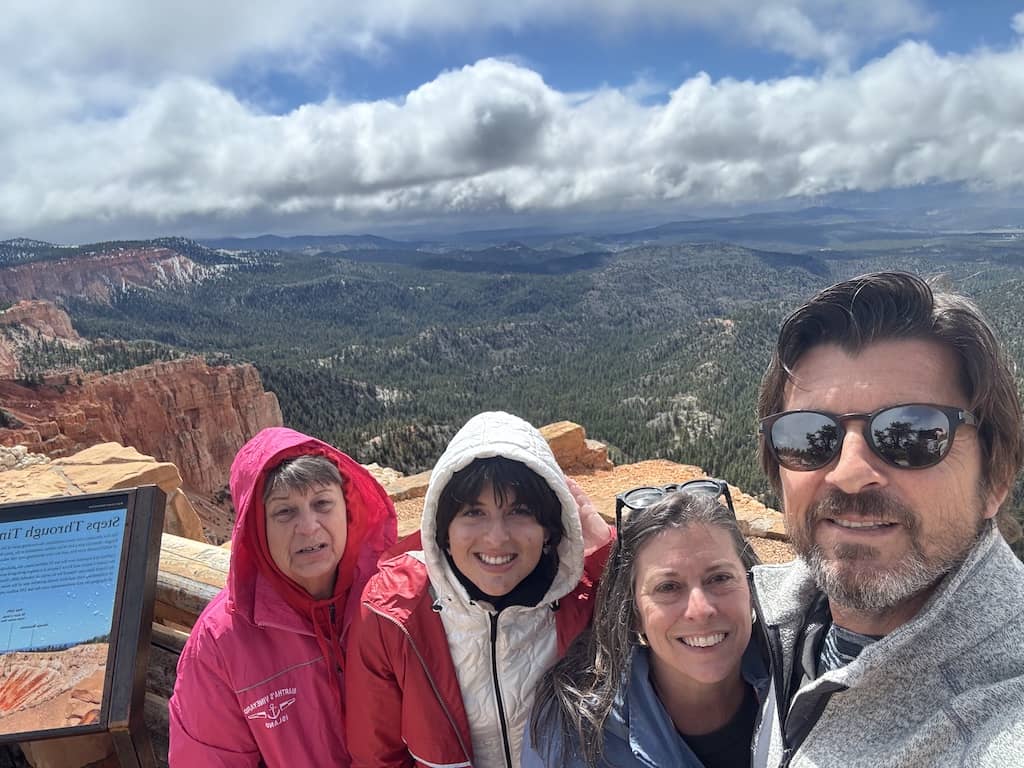
We stayed at Best Western Plus Ruby’s Inn. It’s the most popular all-in-one base with restaurants, shops, pools, and shuttle access.
It’s a bit of a captive audience at Bryce, as there isn’t that much accommodation in the area. But we found the Best Western to be clean and convenient. And the nearby Ruby’s Inn Cowboy’s Buffet & Steak Room was a decent family-friendly dining option.
Best Overlooks in Bryce Canyon National Park
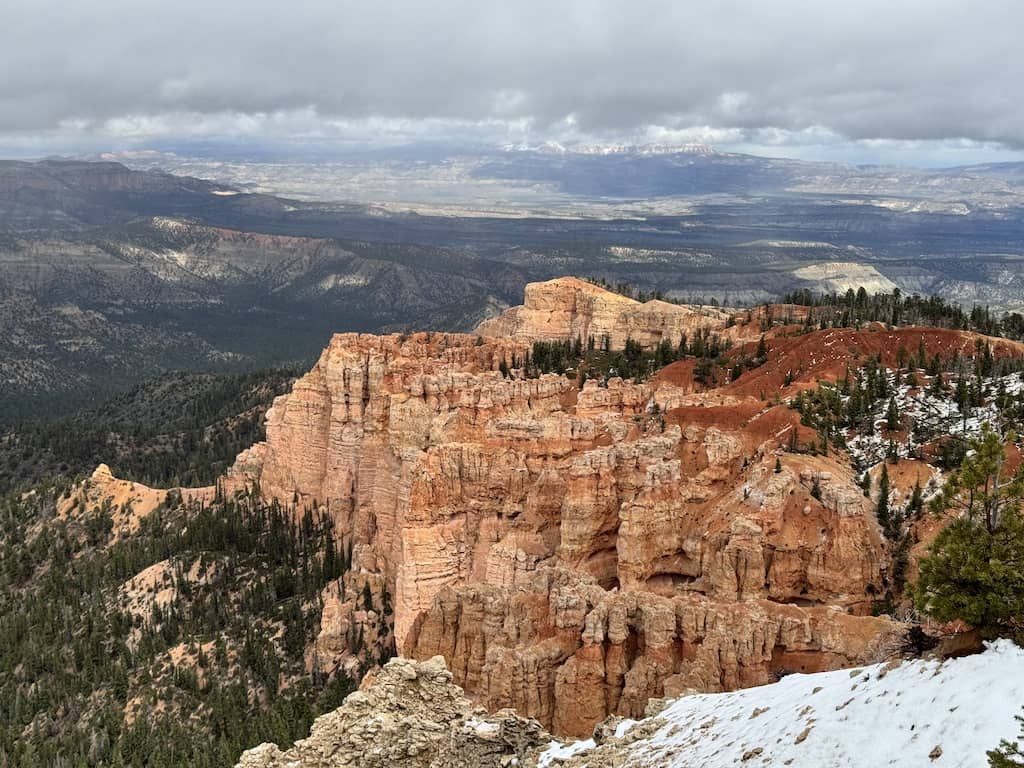
Start your visit with the park’s 18-mile scenic drive along Bryce Canyon Road. For the best strategy, drive straight to the end at Rainbow Point and work your way back toward the main amphitheater overlooks. This approach allows you to see the highest elevations first (around 9,100 feet) and then gradually descend.
Plan at least an hour to 90 minutes to fully enjoy the drive if you stop at the major viewpoints. Key pullouts include:
- Yovimpa Point
- Natural Bridge
- Agua Canyon
- Inspiration Point
- Bryce Point
Weather can shift quickly at this elevation. Conditions may include snow or low visibility outside of summer months, so flexibility is key. If skies clear, the views stretch for miles across layered cliffs and distant plateaus.


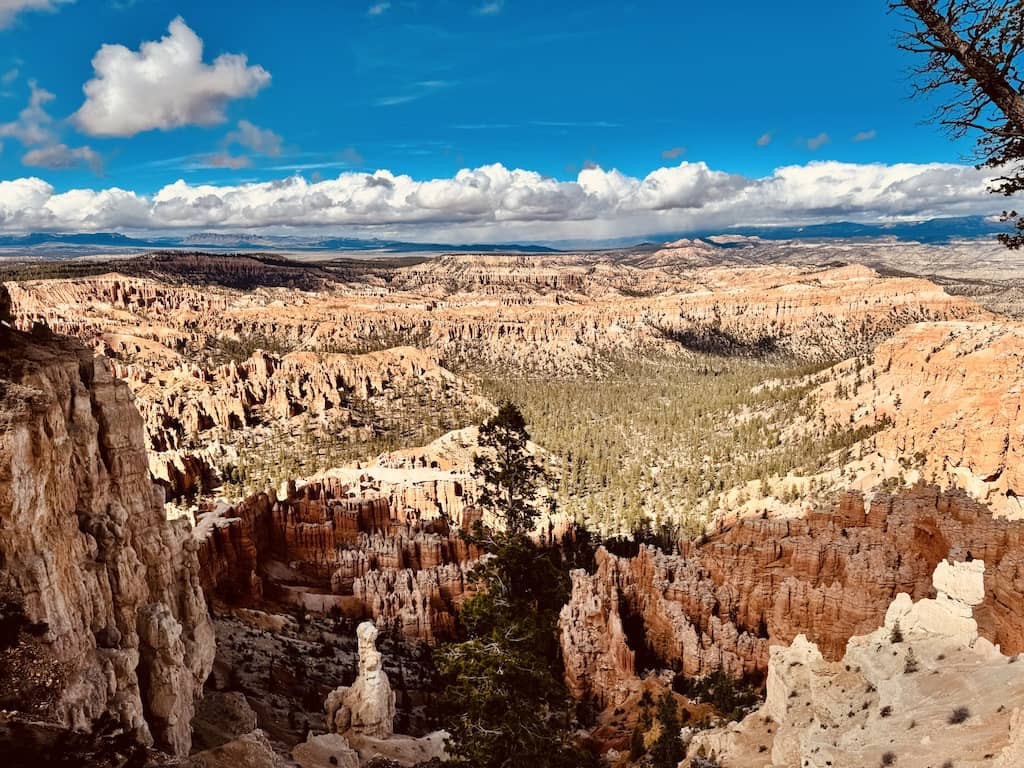
Sunrise Point
Arrive early at Sunrise Point for dawn views over the Bryce Amphitheater. Parking is generally available if you arrive 30–45 minutes before official sunrise (around 7:15 a.m. in winter months). While the overlook itself can be crowded, you don’t need to stand directly at the rail – there are multiple viewing angles and benches along the rim that offer equally impressive perspectives.
Morning temperatures can be cold (often near 20°F outside of summer), so dress in layers. After sunrise, warm up with breakfast before heading back out for a hike.

Hiking at Bryce Canyon
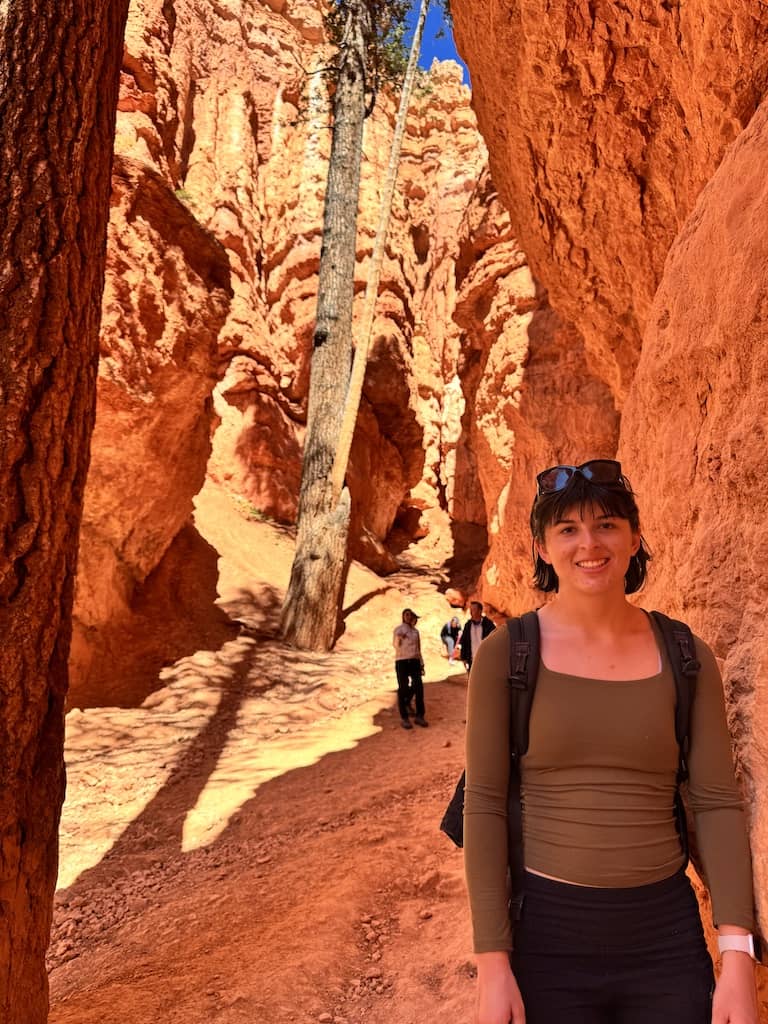
We enjoyed the Queens Garden Trail and Navajo Loop Trail while we were at Bryce. And I’ll be honest, for a short hike, it was quite difficult – purely due to the elevation and switchbacks!
Begin hiking from Sunrise Point on the Queens Garden Trail. This trail descends into the amphitheater among towering hoodoos and is considered one of the park’s most scenic routes.
Connect to the Navajo Loop Trail, climbing back up via the famous Wall Street switchbacks toward Sunset Point.
Key details:
- ~2.5–3 miles combined
- Over 600 feet of elevation change
- Moderate difficulty
Take your time — the altitude makes even short hikes feel more strenuous.
For something easier, hike the short and easy walk to Mossy Cave Trail, located outside the main amphitheater area along UT-12. This gentle trail leads to a small waterfall and a shallow cave, offering a different landscape from the hoodoo formations.
Tips for Visiting Bryce Canyon National Park
- Arrive early for sunrise viewpoints – Parking at spots like Sunrise Point fills quickly, especially in peak season.
- Expect high elevation effects – The park sits around 8,000–9,000 ft, so hikes can feel more strenuous than expected.
- Dress in layers year-round – Temperatures can swing dramatically between morning, midday, and evening.
- Plan for weather changes – Snow, wind, and sudden storms can happen even outside winter.
- Use the scenic drive efficiently – Go to Rainbow Point first and work back toward the main amphitheater stops like Inspiration Point and Bryce Point.
- Hike early or late in the day – Midday can be hot in summer and more crowded on popular trails.
- Bring plenty of water – Dry air and elevation increase dehydration risk.
- Don’t rely only on rim viewpoints – Trails like Queen’s Garden and Navajo Loop give the best perspective of the hoodoos.
- Consider shuttle use in peak season – It reduces parking stress around main viewpoints.
- Stay nearby if possible – Lodging in Bryce Canyon City or nearby towns makes sunrise and early hikes much easier.
- Allow extra time for short hikes – Distances are short, but elevation gain makes them slower than expected.
- Check road conditions in winter – Some areas of the scenic drive may close temporarily due to snow or ice.


Grand Canyon, Bryce Canyon and Zion Loop
This Grand Canyon, Bryce Canyon, and Zion loop forms the core of many American Southwest road trips and we have detailed the full itinerary here.
Together, they showcase a dramatic progression of landscapes – from the vast, layered canyon of the Grand Canyon, to the high-elevation hoodoos of Bryce Canyon, and finally to the towering sandstone cliffs and narrow slot canyons of Zion.
Connected by scenic highways through northern Arizona and southern Utah, this loop is typically driven over several days and serves as a natural backbone for exploring the region’s geological diversity and national park highlights.


A Family Trip to Bryce Canyon and Zion National Parks
There is no way to choose between visiting Zion or Bryce – they are completely different in every way and both deserve a visit. Location and logistics make it easy to visit both on the same trip. Not to mention that the drive between the two is amazingly beautiful as well.
The best advice I can give for Zion – stay in Springdale. That alone was a game changer for the entire trip. And for Bryce – have patience. The elevation can be challenging when it comes to weather and adventure. Slow down and take time to soak it all in.
These are two natural wonders that must be seen.
Let us help you plan your road trip out west – download our planning guide,
or chat with our full service Travel Agency!

Copyright © Endless Family Travels – all rights reserved. Photos and content cannot be used without express permission.
Endless Family Travels is a participant in the Amazon Services LLC Associates Program, an affiliate advertising program designed to provide a means for sites to earn advertising fees by advertising and linking to Amazon.com.